
Setting up an indoor production space requires an orderly approach to physical balance and spatial organization. Photographers often focus on lighting placement first, yet physical camera support defines the ultimate sharpness and composition of every exposure.
Operators configuring modern photography studio equipment prioritize foundational balance before addressing lighting modifiers or tethered workstations. Establishing a dependable support workflow saves valuable production time, reduces physical strain during extended sessions, and maintains precise optical geometry across repetitive commercial capture.
Establishing a Rigid Tripod Foundation on Studio Flooring
Foundational stability begins at floor level, where hard surfaces like concrete or laminate can permit subtle vibrations. Selecting heavy-duty carbon-fiber or aircraft-grade aluminum tripod legs provides the required rigidity to dampen floor oscillations caused by crew movement.
Deploying tripod legs with wider spread angles lowers the center of gravity, improving stability under heavy camera builds. Technicians loosen leg lock collars systematically, extending thicker upper sections first before engaging thinner lower sections to retain structural tube diameter.
Securing specialized professional photography equipment often involves mounting apex accessories such as bottom ballast hooks. Suspending a measured counterweight directly beneath the tripod spider settles the leg feet firmly into studio floor mats, stabilizing the entire rig during high-angle commercial shoots.
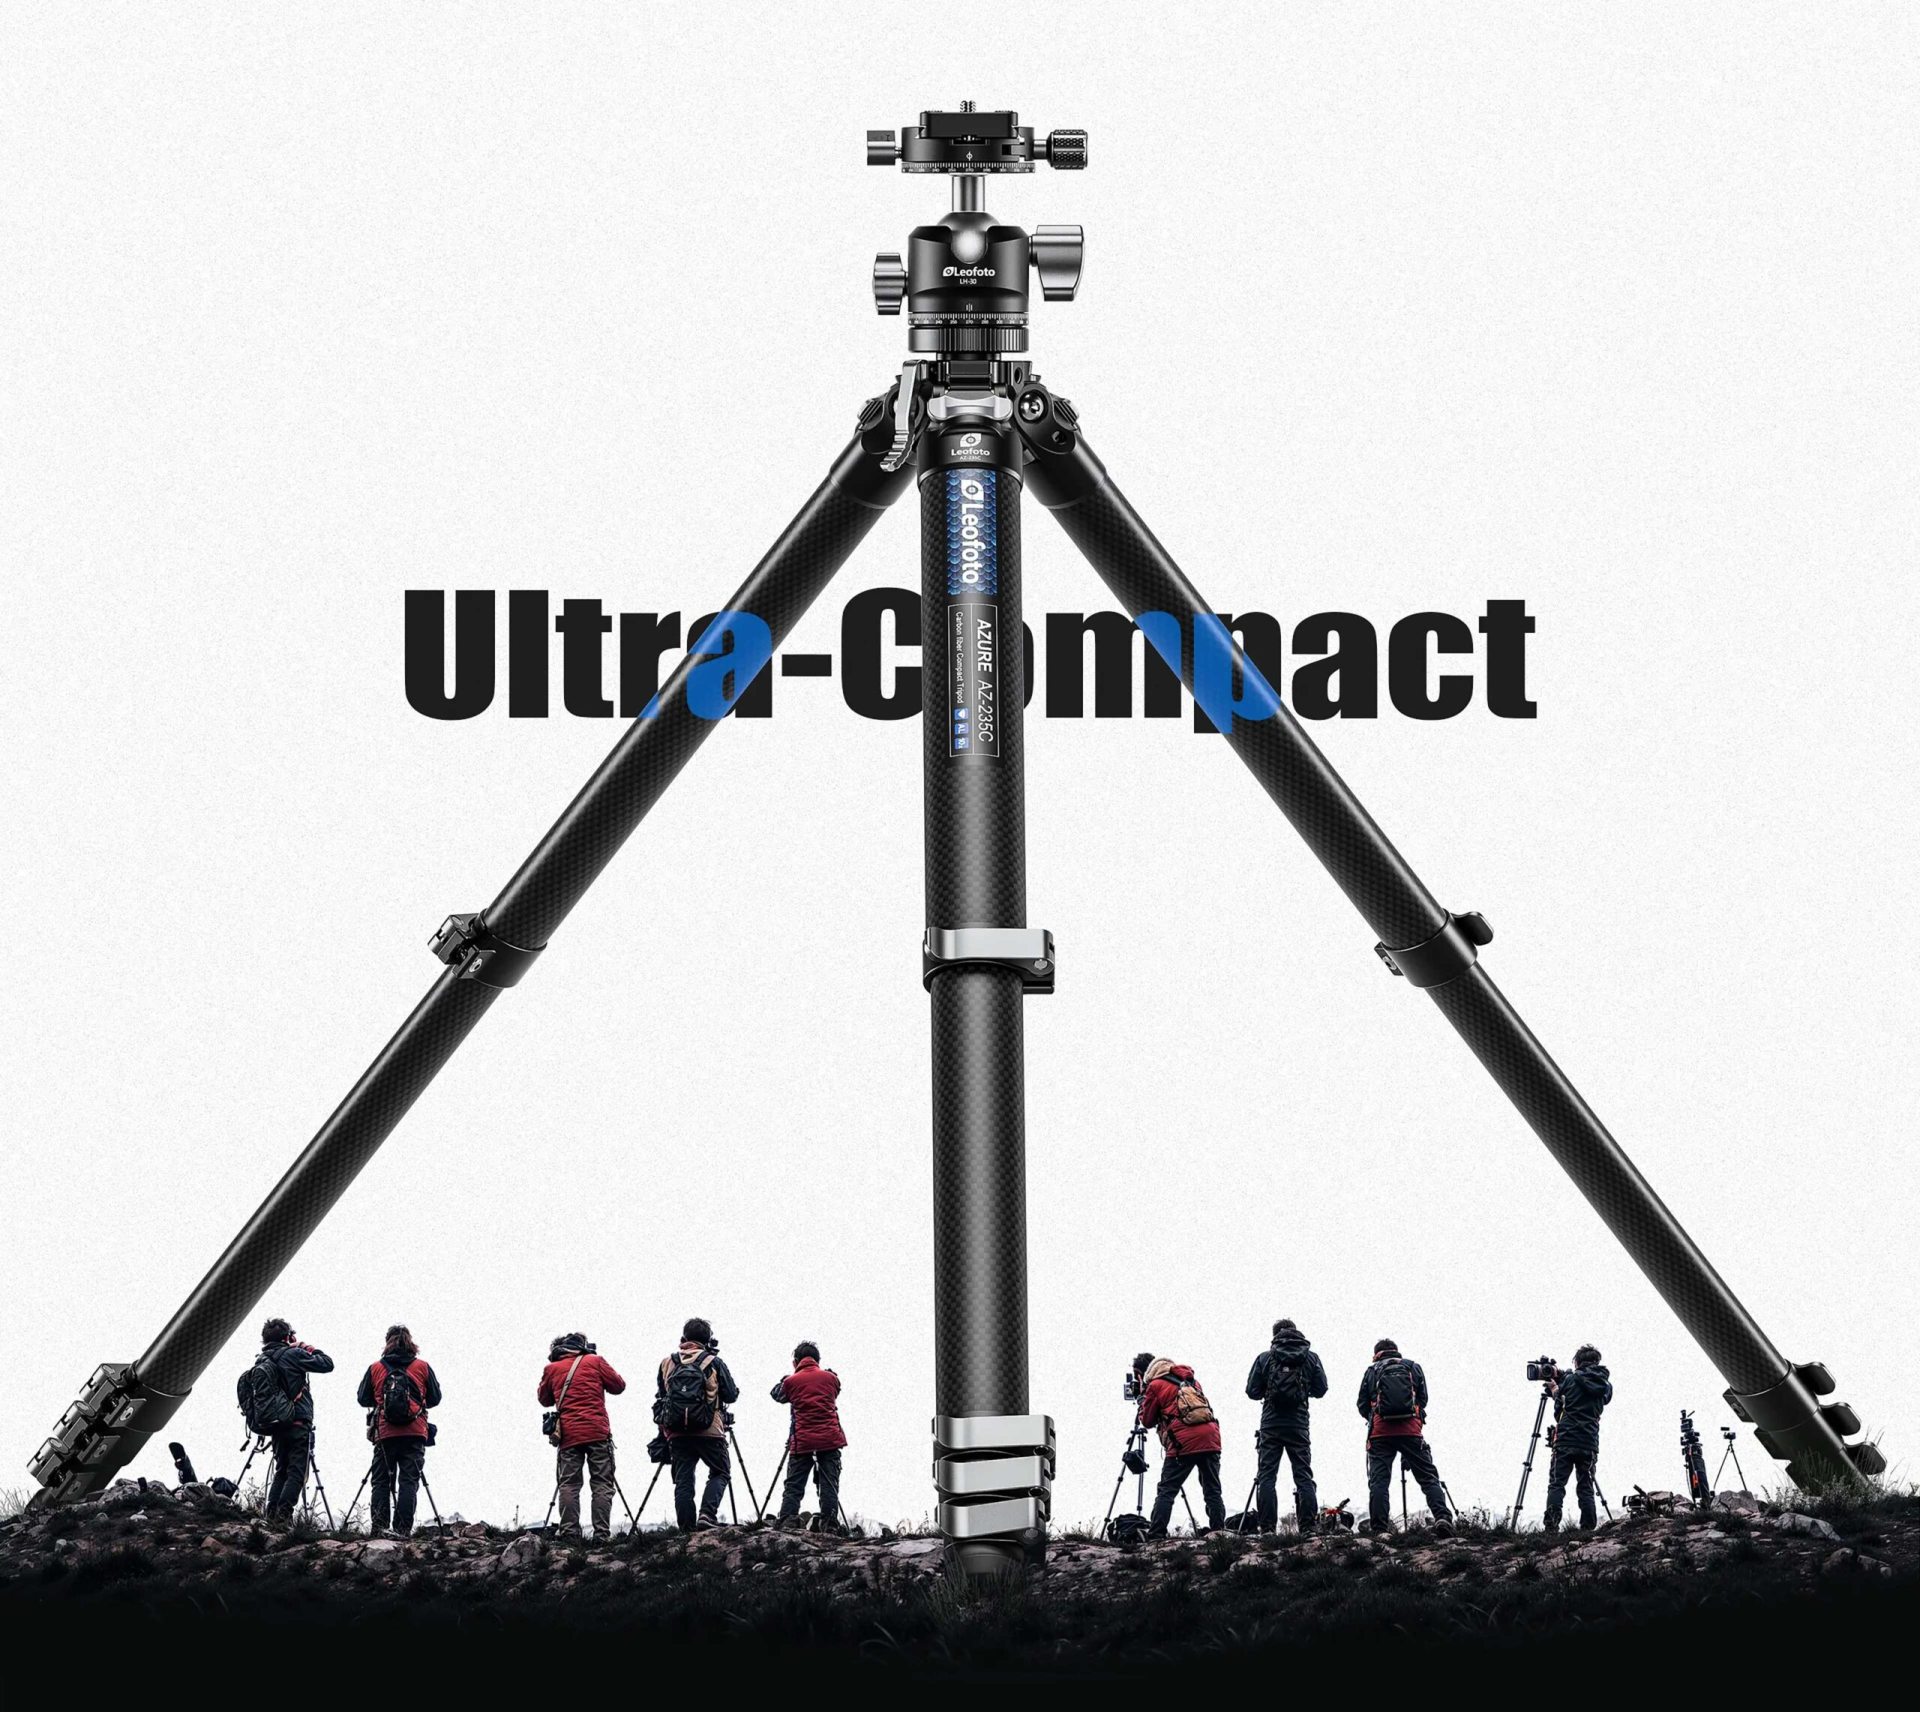
Manufacturers like Leofoto craft tripod systems featuring integrated leveling bases and multi-angle leg stops designed to level the apex across studio surfaces without tedious leg adjustments. Engaging these mechanical stops creates a stable foundation that supports head attachments without shifting.
Aligning Heads and Leveling Mechanisms for Framing Precision
Mounting the primary camera support head onto the tripod platform requires careful mechanical alignment. Threading the mounting stud into a precision low-profile ball head or geared head establishes the rotational interface needed for precise catalog or portrait compositions.
Geared tripod heads excel in still-life environments where micro-adjustments along three separate axes prevent manual drift. Alternatively, low-profile ball heads equipped with independent pan-lock knobs and calibrated friction dials allow operators to smoothly transition between rapid orientation adjustments and locked-off tracking shots.
Precision quick-release clamps adhering to the Arca-Swiss dovetail standard provide secure camera attachment while facilitating swift hardware swaps. Pairing a dedicated L-bracket with the camera body allows switching between horizontal landscape and vertical portrait orientations without altering the optical center line of the lens.
Calibrating dual panoramic panning platforms located beneath the head clamp unlocks cylindrical stitching capabilities. Studio specialists rely on these graduated markings to maintain repeatable degree increments during 360-degree product scans or composite pan layouts.
Rigging Horizontal Columns and Booms for Overhead Perspectives
Overhead flat-lay photography introduces unique torque stresses that can compromise standard vertical tripod configurations. Attaching an independent horizontal center column or tilt adapter to the tripod apex transforms a conventional vertical riser into an extended lateral boom arm reaching across styling tables.
Counterbalancing cantilevered loads represents an essential safety procedure during overhead studio capture. Adding designated counterweights to the opposite end of a horizontal carbon-fiber column neutralizes rotational leverage, preventing tip-over incidents when suspending heavy mirrorless cameras and macro lenses directly over tabletop scenes.
Engineering specialists such as Leofoto produce modular horizontal columns and geared boom arms machined from aluminum. These components enable controlled linear travel along the horizontal axis, allowing tabletop photographers to set exact working distances above subjects without repositioning the tripod base.
Arranging specialized photography studio equipment for top-down work demands strict fastener verification. Technicians should tighten all tilt-locking collars, rotation knobs, and safety stop screws before positioning costly camera gear directly above vulnerable product sets or fragile styling arrangements.
Integrating Articulated Arms, Tethering Trays, and Rigging Accessories
Commercial production workflows frequently depend on secondary displays, lighting modifiers, and tethered computers operating near the shooting axis. Clamping articulated friction arms into the accessory sockets of the tripod apex creates modular mounting points for wireless video transmitters or compact monitors.
Tethering laptop trays and tablet mounts directly to tripod legs keeps preview displays in sight. Clamping these platforms at chest height reduces set traffic, consolidating computing hardware and camera controls into a mobile workstation that moves cohesively across the studio.
Distributing auxiliary gear across the support structure prevents lopsided weight distribution. Utilizing robust clamp accessories and mounting brackets from Leofoto allows digital technicians to anchor external power banks, cable clips, and umbrella clamps without destabilizing the central optical axis.
Protecting signal cables forms another vital rigging consideration in tethered studio environments. Employing cable-lock clamps and dedicated camera cages guards sensitive camera ports against accidental cable snags, preserving continuous data streams between digital capture software and tethered workstation computers.
Conducting Pre-Shoot Balance Verification and Operational Checks
Conducting a comprehensive mechanical inspection before turning on lights or firing exposures prevents equipment drift during long production days. Technicians must check that quick-release plates seat squarely within clamp jaws, verifying that safety stop pins engage firmly against Arca dovetail grooves.
Allocating focused time to balance heavy professional photography equipment reduces mechanical wear on internal locking rings and prevents sudden camera drops when releasing tension knobs between shots. Testing fluid damping and ball-head resistance under live camera loads confirms smooth positioning across all panning axes.
Auditing Joints and Restoring Factory Tolerances
Systematically auditing every joint in your photography studio equipment assembly isolates loose fasteners before they introduce micro-vibrations into high-resolution sensor captures. Tightening leg pivot bolts with dedicated multi-tools restores factory friction tolerances, maintaining firm leg spread angles across repeated adjustments.
Methodical assembly, structured load balancing, and dependable support hardware together transform raw camera accessories into a unified production platform. Mastering this sequential setup protocol enables commercial visual artists to operate with confidence, maximizing the functional capabilities of their professional photography equipment across every studio assignment.
